PRODUCT DESCRIPTION
What is Rebar Implant Adhesive or Reinforcement Implant?
Rebar and bolt implant adhesive is widely used in the construction industry, offering effective reinforcement for various structures. Designed with chemical-based adhesives, the solution eliminates mechanical stress throughout the structure, preventing expansion. It is ideal for use in holes with sharp corners and any type of concrete with compressive warp. Our adhesive options, including capsule bolt adhesive, cartridge rebar adhesive, and volumetric and kilogram rebar adhesive, are all based on a resin compound.
The epoxy-based rebar and bolt implant adhesive has diverse applications, making it a valuable choice for construction projects.
Some common uses include:
- Rebar plate rolling
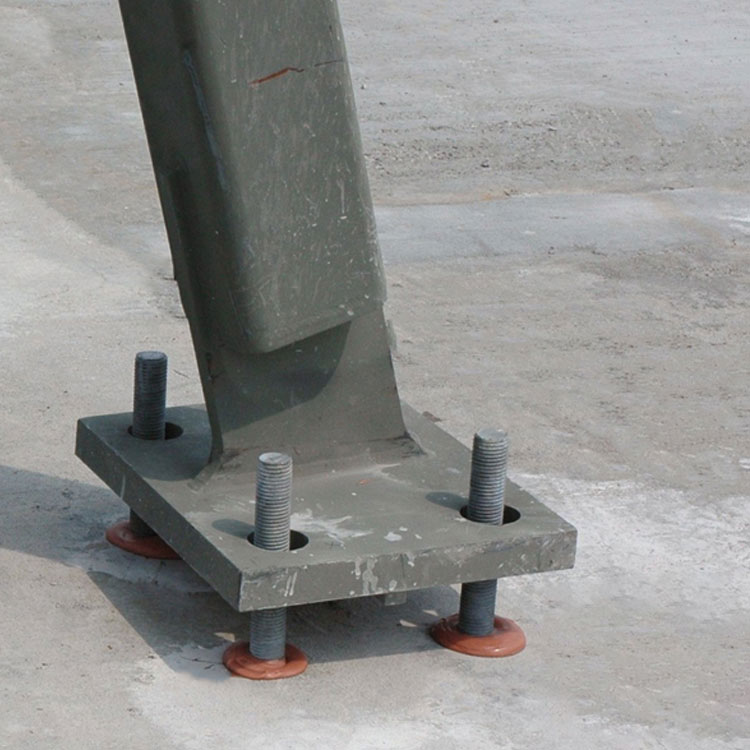
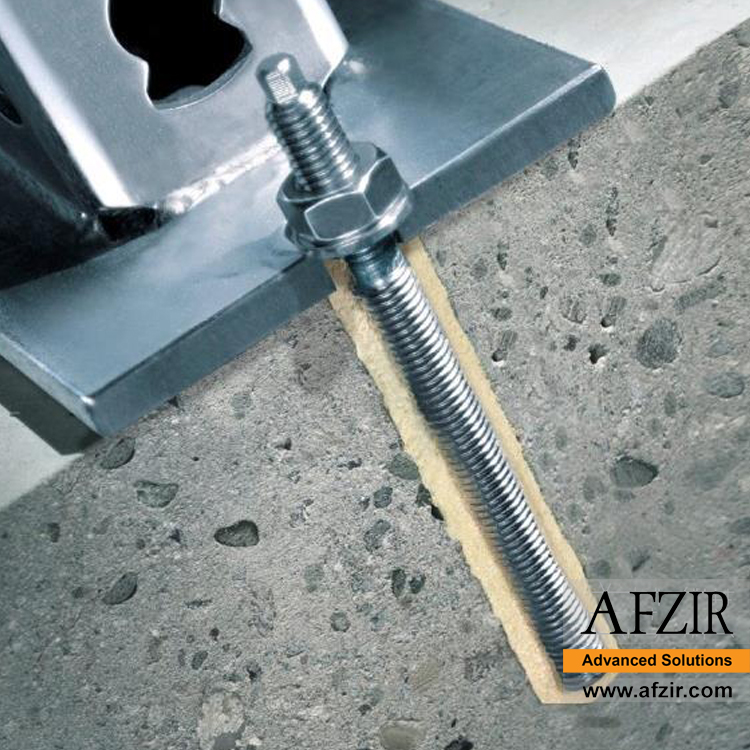
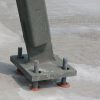
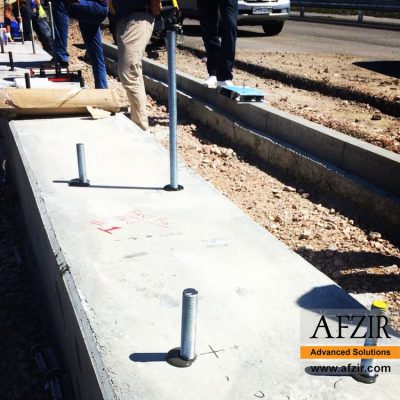
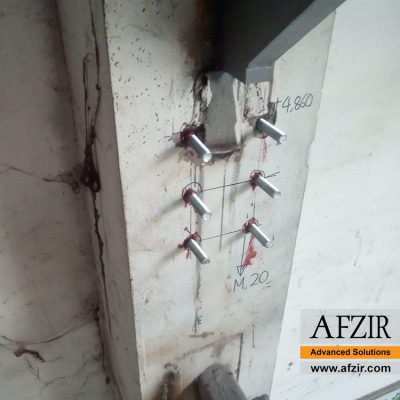
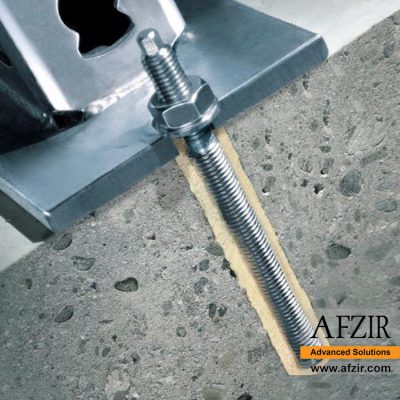
- Base plate installation
- Hollow block connections
In situations such as design errors, the connection of old and new concrete, change in structural use, or the need for reinforcement, rebar planting becomes necessary. That’s where Afzir, a leading rebar planting company, enters the picture. Our Afzir IEA™ two-component rebar implant adhesive offers high mechanical and chemical stability, making it an excellent option for planting rebars and anchor bolts in concrete and installing and stabilizing metal parts.
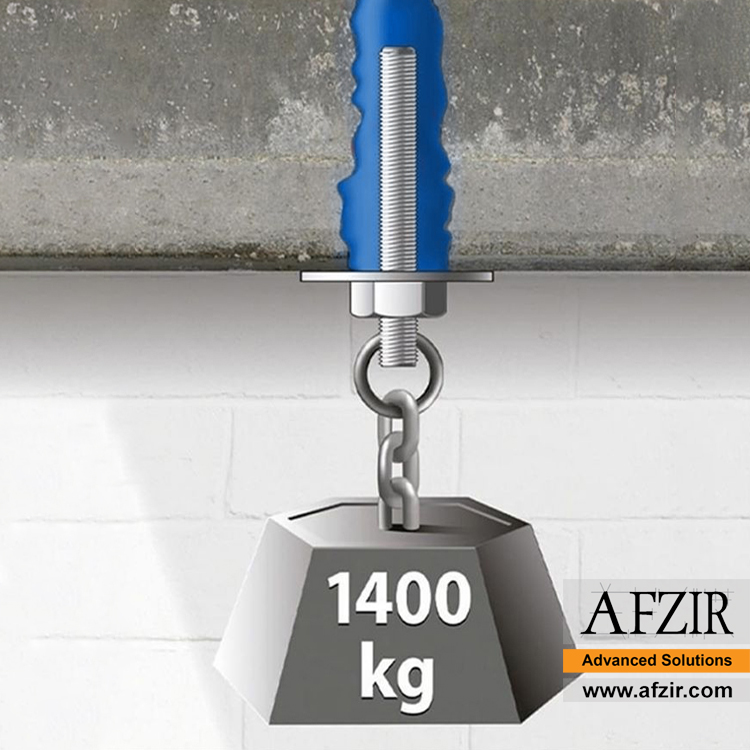
Using resin and hardener in our IEA™ adhesive ensures it does not shrink upon hardening and exhibits excellent adhesion to building materials, whether steel or concrete. By incorporating this adhesive, the structure’s load-bearing capacity in that particular area can be significantly increased.
Furthermore, the exceptional adhesion of IEA™ rebar implant adhesive reduces the required hole diameter and restraint length compared to cementitious base materials, simplifying drilling operations.
What Are the Advantages of Using Rebar and Bolt Implant Adhesive?
Complete Filling:
Unlike drilled holes, our adhesive flows smoothly and fills the entire space, ensuring a tight connection between the rebars and the main structure. This complete filling insulates against air, moisture, and water infiltration.
Maximum Load Capacity:
Our adhesive allows for almost unlimited depth in concrete structures, while mechanical anchorage is limited by length and diameter. This enables the planting of rebars at greater depths, enhancing the structure’s load-bearing capacity.
Thicker Hole Creation:
Our adhesive easily flows into the hole volume, completely sealing it. This feature enables the planting of thick rebars with high load-bearing capabilities.
What Type and Capacity of Cartridge Do You Need for Injecting the Adhesive?
Selecting the appropriate rebar adhesive is crucial for concrete structure development, considering the variations in building designs. At Afzir Group, we offer two types of packaging for our rebar implant adhesive, tailored to meet different project requirements.
For low consumption and small projects, the cartridge rebar implant adhesive package is suitable. We provide various cartridge sizes, including 300 ml, 345 ml, 420 ml, and 600 ml, to accommodate professional needs.
For larger construction projects, we offer bulk packages of 15 or 30 kg, providing ample adhesive volume for extensive civil operations.
How is the Amount of Rebar Adhesive Used Calculated?
Afzir Group has developed a comprehensive and accurate system for calculating rebar and bolt implant adhesive consumption. Our online calculator takes into account parameters such as the bed type, rebar type, hole diameter, embedded rebar depth, and the number of inhibitors to estimate the volume of adhesive required for the project. This calculation system lets you make informed decisions when purchasing rebar adhesive, ensuring you have the appropriate amount for the job.
Accurate estimation of adhesive quantity is crucial in rebar planting operations that involve chemical inhibitors. You can maintain adhesive during the project by calculating the required amount in advance. This helps prevent unfinished and potentially hazardous operations due to insufficient glue in the holes.
In addition to avoiding shortages, calculating the adhesive amount helps minimize waste and reduce costs. By accurately estimating the required volume, you can prevent purchasing excess adhesive that may go unused. Afzir has developed an online calculator to support our customers in this process. By inputting relevant parameters into the calculator, such as bed type, rebar type, hole diameter, embedded rebar depth, and the number of holes, you can quickly estimate the number of cartridges needed for the project.
Our online calculator considers various factors that influence the calculation results, such as the size and type of the inhibitor, embedding depth and diameter, and the number of holes. Considering these factors, it provides a reliable estimate of the required cartridge rebar implant adhesive quantity. Armed with this information, you can ensure a sufficient supply of adhesive for the project.
What Factors Influence the Price of Rebar Adhesive?
The price of rebar adhesive is influenced by several factors, primarily the total volume of raw materials used in its production. These compounds are directly sourced from factories that acquire raw materials at reasonable prices. Factors such as resource availability, government policies for chemical supply, transportation costs, and global oil prices impact the price of rebar and bolt implant adhesives.
The demand for chemical inhibitors, including rebar and bolt implant adhesives, is increasing as engineers recognize their advantages over mechanical anchors. The construction market, particularly in the United States, is experiencing significant growth in the acceptance and use of chemical anchors. The need for major repairs in many bridges in the country further emphasizes the potential for the chemical anchor market. However, the selection between chemical and mechanical anchors depends on project space, installation environment, consumer knowledge, and technical understanding.
The global market value of chemical inhibitors, including bolt implants, was estimated at around $870 million in 2020. The market is projected to grow at an annual rate of 4.1% until 2028. As a result, the price of rebar adhesive may vary based on market dynamics and global trends.
For more information on selecting the right rebar adhesive and to inquire about pricing for rebar implants in concrete, we encourage you to reach out to our experts at Afzir Company. Our knowledgeable team is ready to assist you in choosing the best adhesive solution for your specific project needs.
Key Features
- Two-component rebar implant adhesive based on epoxy resin
- High mechanical and chemical stability
- Has a suitable viscosity when mixing and planting rebars or bolts
- No shrinkage when hardening
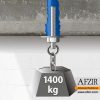
- High resistance to static, dynamic and pseudo-dynamic loads
- Has acceptable performance in corrosive and acidic environments
- Optimal technical and economic efficiency along with ease of mixing components and execution
- Hole diameter and smaller restraint length required for rebar planting compared to cement base planting adhesives
- Excellent connectivity to concrete and other building materials
- Possibility of planting rebars and bolts on vertical and horizontal concrete surfaces
Applications
- Planting rebars, anchor bolts in concrete to eliminate design and execution errors of the structure or change the design and execution plans of the structure
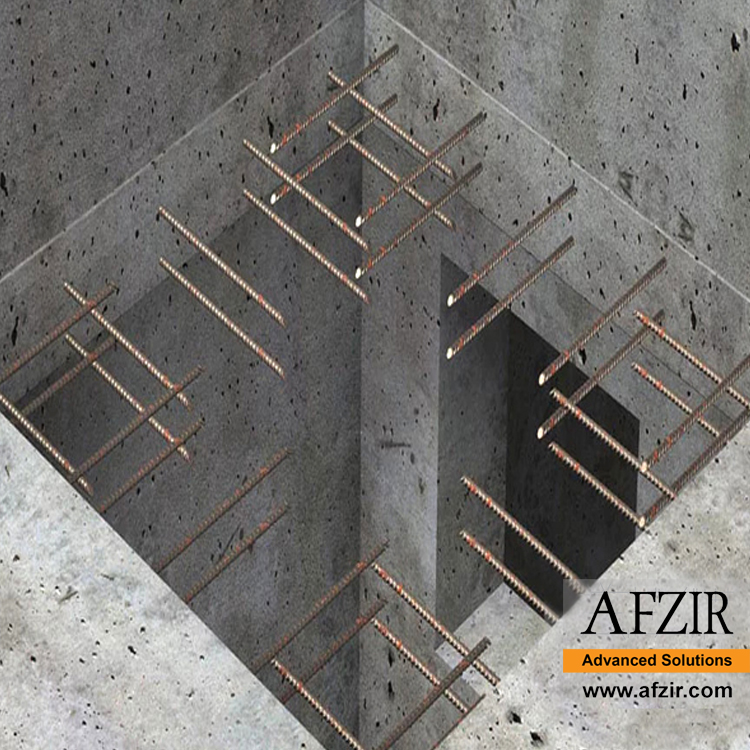
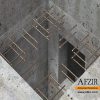
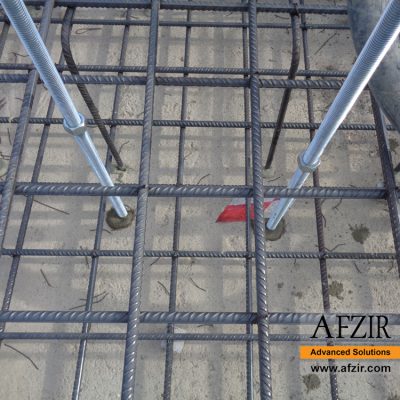
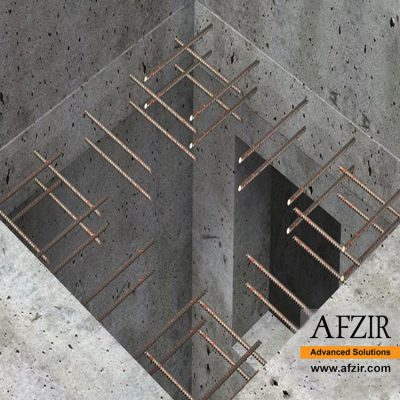
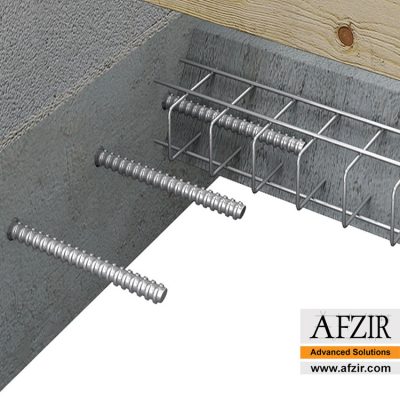
- Planting rebar in concrete and foundations; To strengthen the structure and improve the concrete member
- Connecting old concrete to new
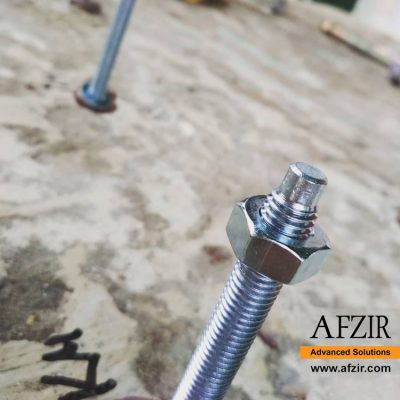
- Rebar planting and bolt implementation in steel structures; Connecting steel or plate sections to concrete, stone, brick and other building materials
- Installation and stabilization of machines on concrete floors in various industries
Packaging
- Industrial (15 and 30 kg)
- Cartridge (300,345,420,600 ml)
Colour
- Gray paste (after mixing)
technical specifications
| appearance |
Gray paste (after mixing) part A : white part B : grey |
| mixing ratio |
A : B = 2 : 1 (by volume) |
|
Operating temperature |
5℃ – 40℃ |
|
Final setting time |
3 days (25 ℃) |
|
Gel time |
25 minutes (25 ℃ ) |
| density |
1.4 g/cm3 |
| Adhesion stability (concrete peels off) |
2.5 MPa |
| Compressive strength (after 7 days) |
90 MPa |
| Flexural strength (after 7 days) |
16 MPa |
Tips for Engineers Working with Implant Epoxy Adhesive:
- Familiarize Yourself with Product Specifications
Understand the technical specifications, limitations, and application guidelines the manufacturer provides. - Follow Proper Safety Precautions
Wear appropriate personal protective equipment (PPE) and ensure good ventilation in the working area. - Plan and Prepare
Carefully plan the implantation process and gather all necessary tools and materials. - Surface Preparation
Ensure the concrete surface is clean, dry, and contaminant-free before application. - Use the Correct Tools and Equipment
Utilize specialized tools designed for implant epoxy adhesive application. - Follow Mixing Instructions
Mix the adhesive according to the manufacturer’s instructions. - Apply Adhesive Appropriately
Follow guidelines for proper adhesive application, including depth filling and sequence of operations. - Allow Adequate Curing Time
Allow the adhesive to cure and harden before subjecting it to loads or stress. - Regular Quality Control Checks
Perform inspections to ensure compliance with project requirements. - Maintain Documentation
Keep records of the implantation process for reference and quality assurance purposes. - Seek Professional Advice
Consult experienced professionals or the adhesive manufacturer for guidance when needed.
Tips for Contractors Working with Implant Epoxy Adhesive:
- Understand Product Specifications: Familiarize yourself with the manufacturer’s technical specifications and application guidelines.
- Ensure Proper Surface Preparation: Prepare the concrete surface by cleaning it thoroughly and removing any contaminants.
- Use Appropriate Tools and Equipment: Utilize specialized tools and equipment designed for implant epoxy adhesive application.
- Follow Mixing Instructions: Mix the adhesive according to the manufacturer’s instructions to achieve the desired consistency.
- Apply adhesive Correctly: Follow guidelines for proper adhesive application, including depth filling and sequence of operations.
- Allow Sufficient Curing Time: Give the adhesive enough time to cure and harden before subjecting it to loads or stress.
- Conduct Regular Quality Control Checks: Perform inspections to ensure project requirements and specifications compliance.
- Document the Installation Process: Keep detailed records of the implantation process for documentation and quality assurance.
- Prioritize Safety: Adhere to proper safety precautions and provide a safe working environment for the workers.
- Seek Professional Guidance: Consult experienced professionals or the adhesive manufacturer for expert advice and assistance when needed.
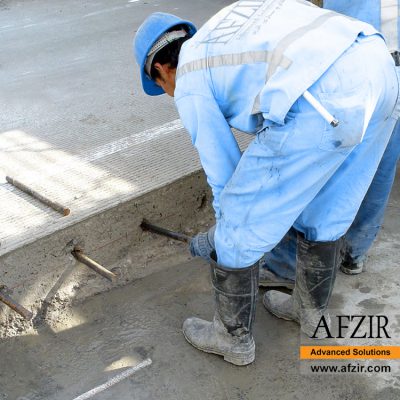
To start planting rebars, reinforcement and bolts, we must make a hole with a suitable depth in the concrete surface. The size of the hole created should be large enough to ensure that sufficient amount of rebar and bolt implant adhesive flows around the anchor. Note that the depth to the width of the hole created should have a small space for the free presence of glue flow. However, the raised wall of the rebars or bolts always prevents the adhesive from flowing.
If the holes drilled for rebar implantation are permeable, the rebar implant adhesive and the cast bolt will seep into the underlying layers. We definitely do not intend to fix the rebars in the underlying layers. In this case, we have lost a significant amount of rebar adhesive. This is more common in brick structures and less common in concrete.
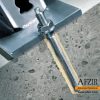
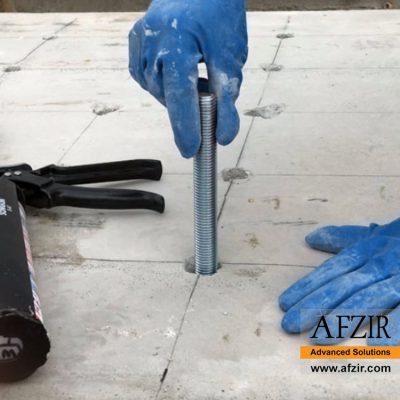
Then, just before planting the rebar or bolt, you must pour enough glue into the drilled hole. By placing the rebar inside the hole, the planting operation is almost complete. At the end of the work, you have to wait for the glue to harden. The rebar and bolt implant adhesive penetrates completely into the space of the holes created and closes all these holes and will provide insulation against air and water.
bolt implantation methods using chemical inhibitors
Prepare the drilled hole
To make the hole, you must use special drills that can penetrate the concrete. Drill a hole with the required diameter and depth in the preliminary building plan drawings.
After digging, you must remove the dust from inside the hole. To do this, use compressed air for at least four seconds inside the drilled hole. Make sure that the compressed air used is oil-free and make sure that the air has reached the end of the drilled hole completely.
Clean the wall inside the cavity with a special nylon brush. The brush should hardly enter the cavity space. If the brush is moving smoothly or its size is not suitable or the brush is worn out and can no longer clean the cavity wall. Therefore, if the brush movement is smooth and without resistance, be sure to replace it with a new brush that has a suitable diameter.
For the second time, send compressed air into the cavity for at least four seconds. It is necessary that the compressed air nozzle has penetrated to the end of the cavity.
Cartridge preparation
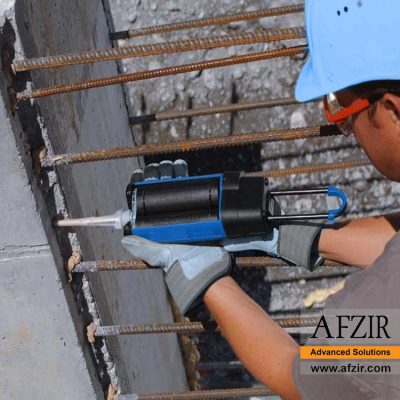
Insert the rebar and bolt adhesive cartridge into the special tool for uniform injection of the adhesive.
Remove some glue. Often the glue does not have a uniform volume at the beginning of the cartridge. Remove the glue from the cartridge until it is a good mixture with a uniform color. This removed adhesive, although small in volume, is not suitable for use. The cartridge is now ready for injection of rebar and bolt implant adhesive.
Fill the hole
Epoxy adhesive should be filled from the bottom of the holes. Fill the drilled hole approximately 1/4 the depth of the adhesive. Then gently pull out the nozzle.
Inserting rebars
Insert the rebars, which can be ordinary or ribbed, into the hole with epoxy. The surface of the rebar must be free of any dust, grease and any impurities.
After inserting the rebars, you have to wait for the glue to dry. During this period, no work should be done on the implanted rebars.
Usage time
The duration of the work as well as the loading of the rebars until the rebar and bolt implant adhesive dries is available in the datasheet. Read the table and data in the datasheet to achieve the basic and professional results. Any installation defect will cause serious problems in the installation of heavy inhibitors. Poor installation of inhibitors will reduce the strength and safety factor of the structure, which will definitely break the inhibitors by increasing the load on the implanted rebars. In any case, it is necessary to observe the general steps in planting bolts and fittings. Because it is only in this case that we can have principled, strong and completely durable implanted rebars.
All inhibitors must be installed in accordance with the installation method prescribed by the manufacturer. Therefore, in the first step for planting rebars and bolts, you need to study and be fully acquainted with the official installation instructions. Of course, you will need to follow all of these instructions.
- Review product specifications
- Inspect incoming materials
- Evaluate surface preparation
- Verify proper mixing process
- Check application and coverage
- Monitor curing time
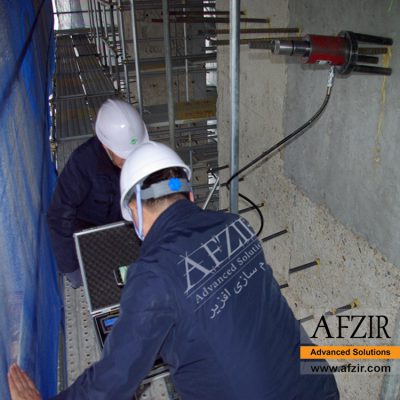
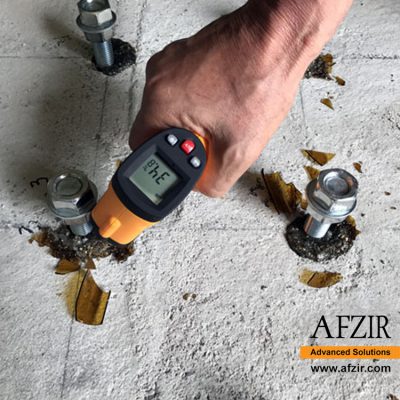
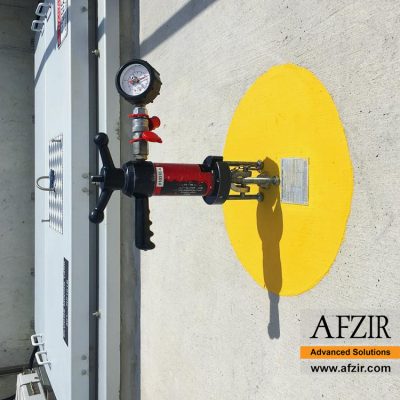
- Test adhesive bond strength
- Conduct visual inspections and defect identification
- Document and keep records
- Adhere to industry standards and regulations
- Collaborate with manufacturer or technical experts
- Emphasize continuous improvement
technical documents
Photo Gallery
Technical documentation request
Frequently Asked Questions
What is rebar implant adhesive?
In the construction industry, sometimes for reasons such as errors in the design and execution of the structure, connection of old concrete to new, change of use and operating conditions of the structure or reinforcement and improvement of the structure, it is necessary to plant rebars or bolts. Rebar Implant Adhesive ™ IEA is a two-component epoxy adhesive with high mechanical and chemical stability for implanting rebars and anchor bolts in concrete and installing and stabilizing metal parts.
For what surfaces is rebar implant adhesive used?
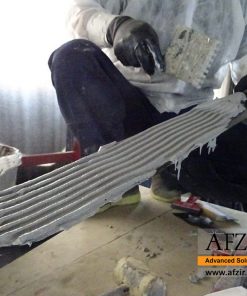
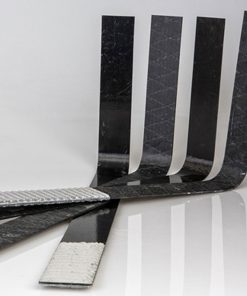
In addition to planting rebars and reinforcement, it is suitable for installing various strips and sheets such as FRP laminate on horizontal and vertical surfaces. This adhesive can also be used to plant steel rods and install steel sheets.
What is the advantage of epoxy rebar implant adhesive over cement based implant adhesive?
Due to the excellent adhesion of IEA TM rebar implant adhesive, the hole diameter and restraint length required for rebar implantation are smaller compared to cement base implant adhesives, thus making the drilling operation easier.
What color is the epoxy rebar implant adhesive?
Epoxy rebar implant adhesive is a gray paste (after mixing).










Be the first to review “Implant Epoxy Adhesive”